Tree Protection Fencing: BS5837 Compliance That Passes
Learn why councils reject tree protection barriers and how to install BS5837-compliant fencing that passes pre-commencement inspections. Practical advice from Subito.
Why councils reject tree protection barrier installations
You’ve done the groundwork. The tree survey is in, the method statement is approved, and the pre-commencement meeting is on the calendar. Then the inspector walks the site, glances at the fencing, and shakes their head. The whole programme stalls while you source new panels, re-arrange the line, or argue with the contractor about who pays. Most rejections come down to simple, avoidable deviations from BS5837. The standard is not ambiguous, but it is detailed, and small oversights on site can cost you weeks of delay and a chunk of your contingency budget.
What BS5837 actually requires for protective fencing
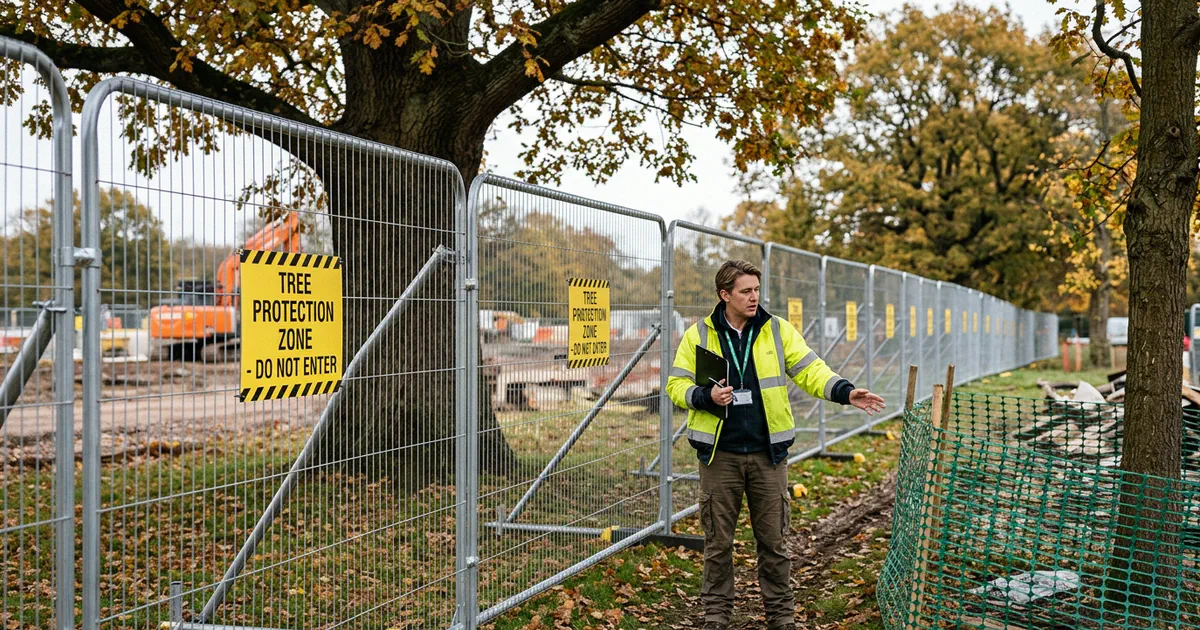
BS5837:2012 sets a clear baseline for protective fencing. The barrier must be at least 2 metres high, constructed from welded mesh panels (typically Heras or equivalent), and each panel should be around 2.4 metres wide. The key phrase is “rigid, impact-resistant” - this is not a line of plastic tape or a few posts with string. The fence must be able to withstand a knock from machinery or a worker leaning on it without shifting. It also needs to enclose the entire root protection area (RPA) as shown on your tree protection plan, not just the trunk. The fence line on the plan is the legal boundary; the physical fence must match it exactly, even if that means awkward angles or moving a storage area.
The two barrier types you need to know
H3: Construction exclusion fencing
This is the standard protective barrier you see on most sites: welded mesh panels, bolted together, with a clear sign saying “Keep Out - Tree Protection Zone.” Its job is to keep machinery, materials, and foot traffic out of the RPA. It must be erected before any demolition or groundworks begin and stay in place until all construction is finished. If you need to move it for any reason, you need written approval from the project arboriculturist.
H3: Ground protection within the root protection area
Ground protection is different. It’s used when you need to allow access across part of the RPA, for example to run a temporary road or set up a crane. The surface is protected with materials like geotextile mats, timber track mats, or a layer of stone over a geotextile membrane. The aim is to spread the load and prevent soil compaction, which can kill roots just as effectively as cutting them. Ground protection can be used in conjunction with exclusion fencing, but it’s not a substitute for it. You still need the fence to keep vehicles off the unprotected parts of the RPA.
Common reasons councils reject installations
Here’s what inspectors actually flag on site. The fence is too low - anything under 2 metres is an automatic fail. The panels are the wrong type: chain-link or temporary crowd barriers don’t meet the spec. There are gaps under the panels, often because the ground is uneven and the contractor didn’t bother to dig a trench or use a ground plate. The fence line has been moved a metre or two to make room for a skip or a site hut, which is a direct breach of the approved plan. The barrier is unstable - a stiff breeze or a passing dumper truck can knock it over. Warning signs are missing or not visible from all sides. And less obvious: the fence posts are driven into the ground within the RPA, damaging roots, or the ballast blocks are too light to hold the panels in place on a slope.
How to install a compliant tree protection barrier
Start by setting out the fence line from your tree survey plan, using string lines and pegs. Mark the corners and any changes in direction. Choose welded mesh panels that are at least 2 metres high and check that the feet are in good condition. On soft ground, use ground pins or stakes driven at an angle, but make sure they don’t penetrate the RPA more than necessary. On hard surfaces, use heavy concrete blocks or water-filled ballast feet. Connect the panels with the manufacturer’s clamps or bolts, and check that there are no gaps at the base. Add hazard signage on every side, with the standard wording “Tree Protection Zone - Keep Out.” If you need an access point, make it a gate that can be locked shut when not in use, and keep the key with the site manager.
Set out from the plan
Use the tree protection plan to mark the exact fence line with pegs and string. Check distances from tree trunks against the survey data.Erect and secure panels
Install welded mesh panels, ensuring they are vertical and stable. Use ground pins or ballast feet appropriate for the ground conditions.Add signage and access control
Fix warning signs to every panel face. Install a locked gate for any required access point, and keep it secured when not in use.
The role of the tree survey and method statement in getting approval
Your tree survey and arboricultural method statement are the foundation of the whole process. The fence line on the tree protection plan comes directly from the survey’s RPA calculations, and the method statement sets out the exact specification for the barrier, including panel type, height, and installation method. Councils expect the site to match these documents to the letter. If you need to change the fence line because of an unexpected service or a design tweak, don’t just move the fence and hope no one notices. Contact your arboricultural consultant first. They can assess the impact and, if necessary, submit a formal amendment to the council. Doing this before the inspection is far cheaper than a stop-work notice.
Photographic evidence: how to document the barrier for the council
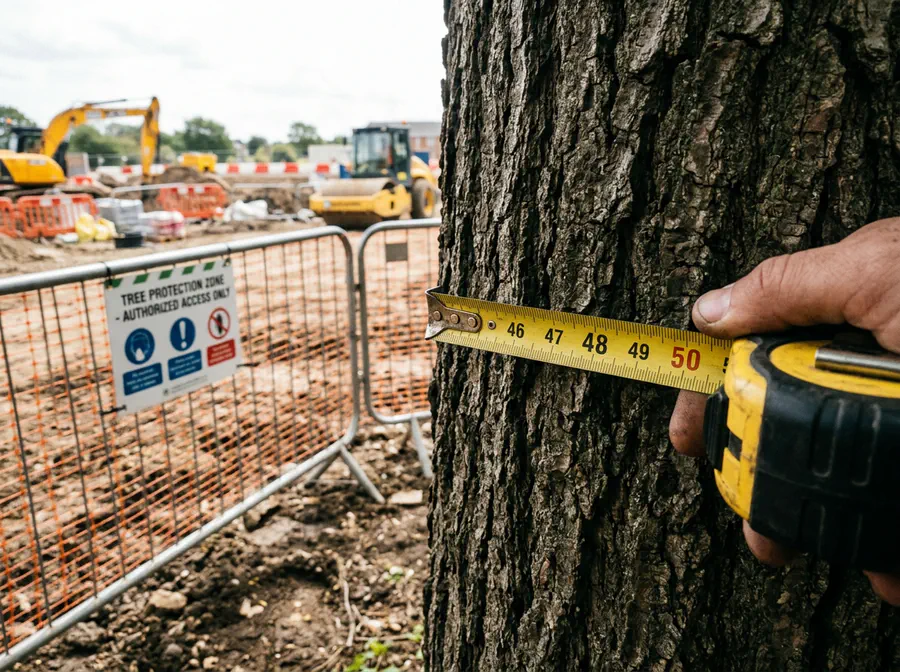
Take photos from every side of the fence, including the corners and any panel joints. Show the ground fixings clearly, whether that’s pins, ballast blocks, or concrete feet. Capture the signage from a distance where the text is readable. And take a shot that shows the distance from the tree trunks to the fence, ideally with a tape measure or a known reference point in frame. Date-stamp the images and keep them in a site file. If the inspector can’t visit on the day, or if there’s a dispute later, a clear set of photos can prevent a follow-up inspection and keep the project moving.
Final checklist before the pre-commencement inspection
Walk the entire fence line with the tree protection plan in hand. Confirm the panels are at least 2 metres high and the correct type. Check that the fence follows the plan exactly, with no deviations. Test the stability by pushing against a few panels. Make sure signage is visible from all sides and that the gate is locked. Keep a copy of the approved method statement on site, in the site office or in the cab of the site manager’s vehicle. A few extra minutes here can save you weeks of delay. Get it right, and the inspector signs off, the diggers move in, and your project stays on schedule.

Frequently asked questions
Find out what's on your site before it becomes a problem.
Subito provides BS5837 tree surveys and arboricultural impact assessments for planning applications across England. If your site has old trees, we will identify them, assess them, and give you the information you need to design around them with confidence.